Disclosure: This post contains affiliate links. I may earn a commission if you buy through them, at no extra cost to you.
August 19, 2025
How to Build a Gaming PC: The Basics You Need to Know
You don’t need to be a tech expert to build a gaming PC. With the right guidance, anyone can do it, and it’s one of the best ways to get powerful performance for your money. After researching countless guides, comparing expert opinions, and reviewing current hardware trends, I’ve created what I believe is the most practical and comprehensive step-by-step guide.This guide will show you how to build a gaming PC step by step, without the stress.
1. Pick Your Budget and Goals
Start by setting a budget. Ask what games you want to play. Set your screen size and refresh rate. That shapes which parts to buy.
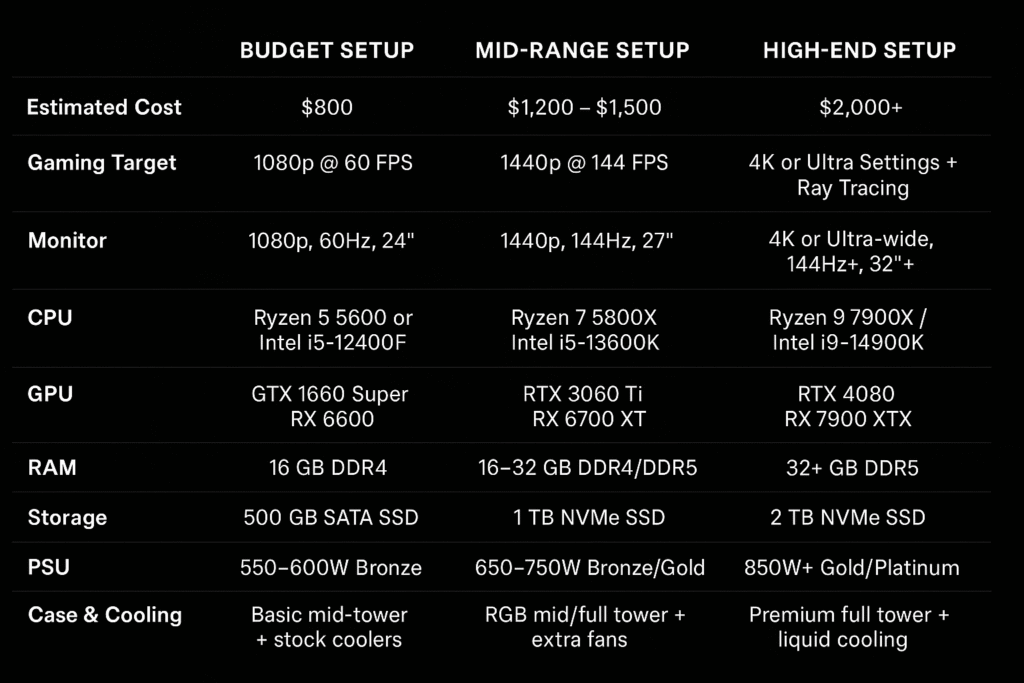
If you want 1080p at 60 FPS, you don’t need top of the line. You can aim for a mid-range build around $800–$1,000. If you want 1440p at 144 FPS or 4K gaming, get more power. That might cost $1,200 to $2,000.
Also, think of extras. Will you add streaming gear later? Do you need VR support? That may guide your CPU and motherboard choices.
Gaming PC Setup Comparison Table
2. Know the Key Components to Build a Gaming PC
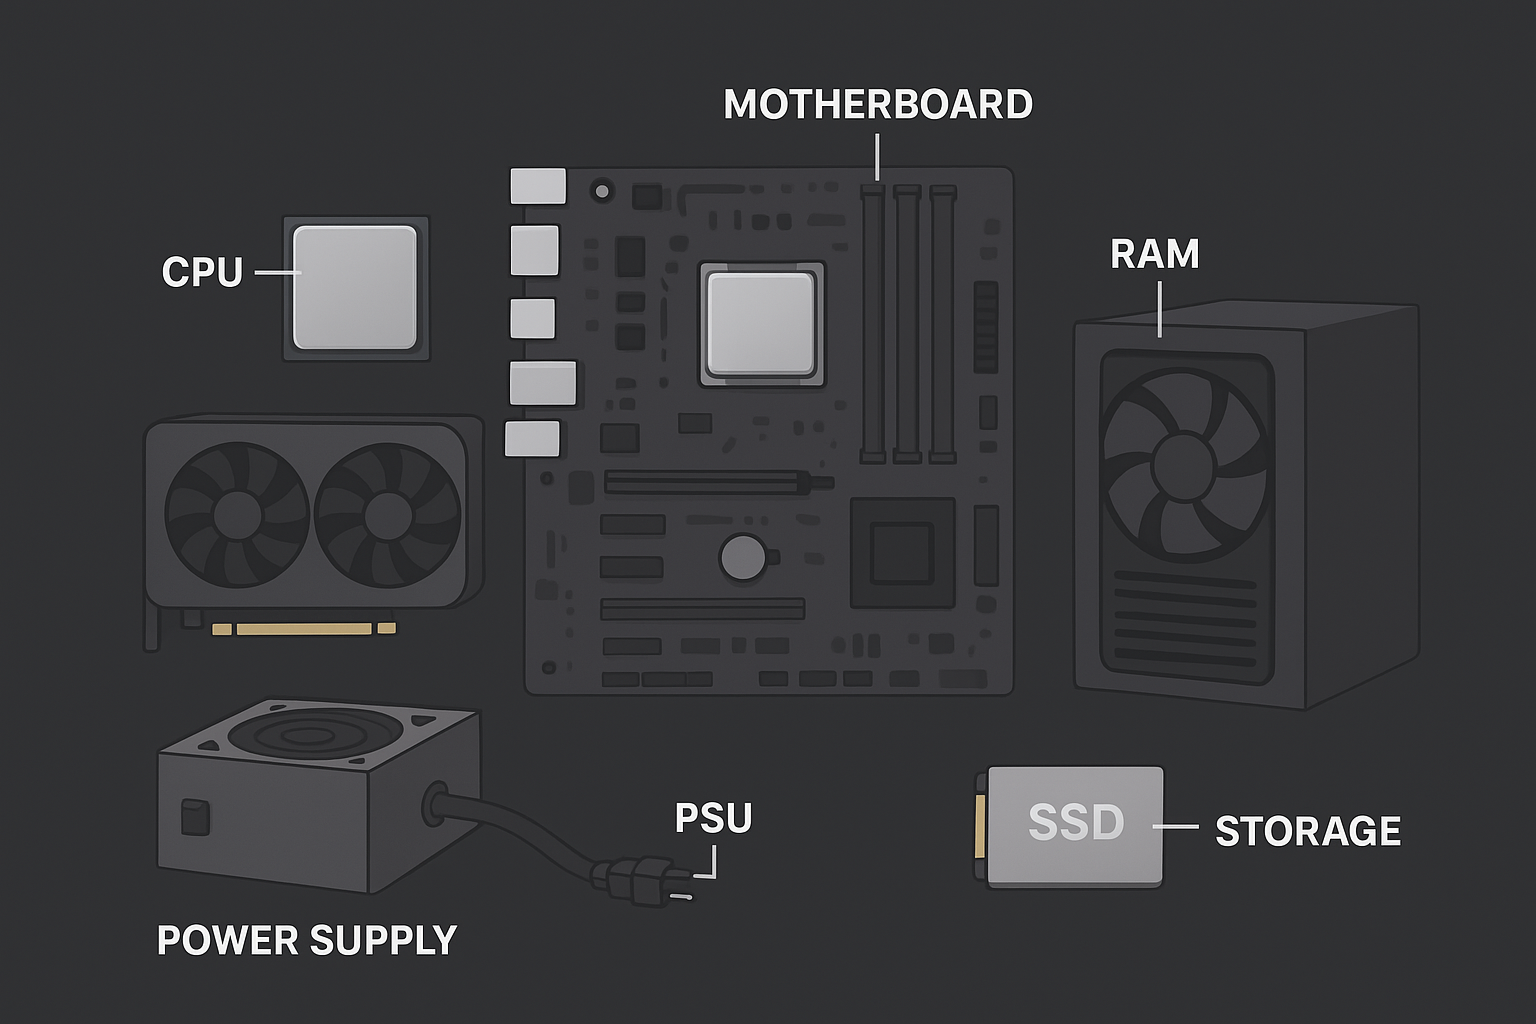
You build a PC with six key parts:
- CPU (processor) – does the math and runs programs.
- GPU (graphics card) – draws images and handles game visuals.
- Motherboard – holds everything and links parts.
- RAM (memory) – stores active data and makes games run smoothly.
- Storage – for your games, files, and system.
- Power supply – gives clean power to all parts.
- Case (bonus) – holds everything and provides airflow.
Each part needs to fit and work together.
3.How to Choose the Best Parts for Your Build
Choosing the CPU
The CPU handles game logic and processes data. For gaming, you need at least a quad-core CPU. Today, six or eight cores are better.
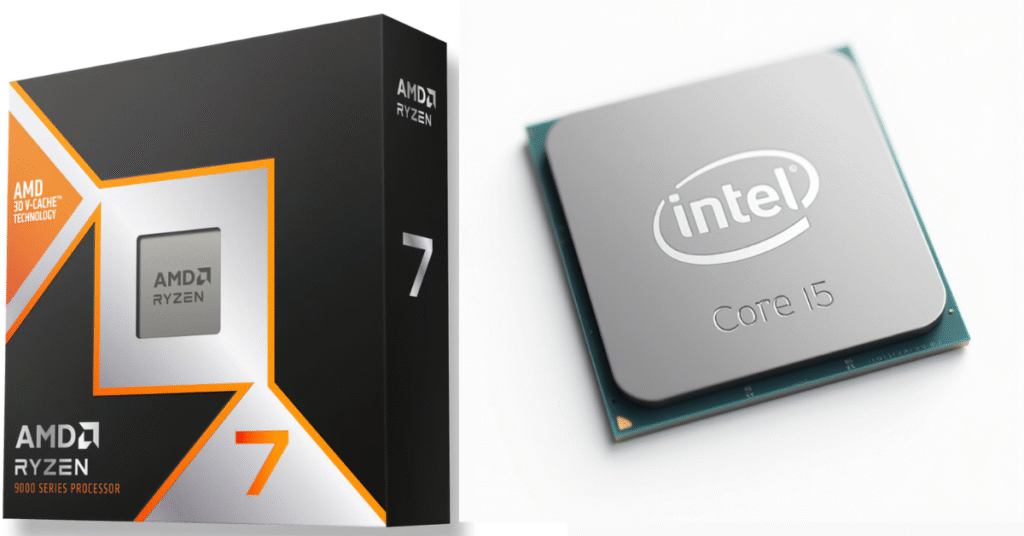
If your budget is low, go for AMD Ryzen 5 5600X or Intel Core i5-12400. They offer solid gaming performance at fair prices. If you want more power for streaming or video editing, look at AMD Ryzen 7 7700X or Intel Core i7-13700K.
Check the CPU socket. It must match your motherboard. For example, AMD Ryzen 5 5600X needs an AM4 socket. Intel’s 12th‑gen needs LGA1700. Always match them.
Picking the GPU
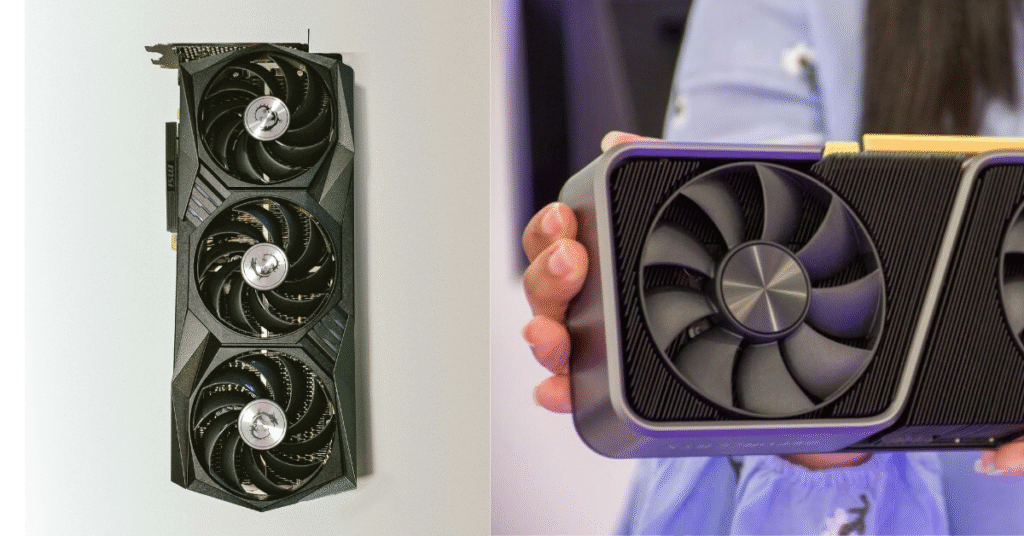
The graphics card is the key to gaming. The better it is, the smoother and prettier your games look.
For budget builds, go for Nvidia GTX 1660 Super or AMD Radeon RX 6600. They handle 1080p gaming well.
For mid-range, look at RTX 3060 Ti or RX 7600 XT. They offer 1440p play.
For high-end, go with RTX 4070 or RTX 4080. Or RX 7900 XT. They work great for 4K or ray tracing.
Check for power draw and size. Some GPUs are long and wide. Make sure they fit your case and your power supply can handle them.
Selecting the Motherboard
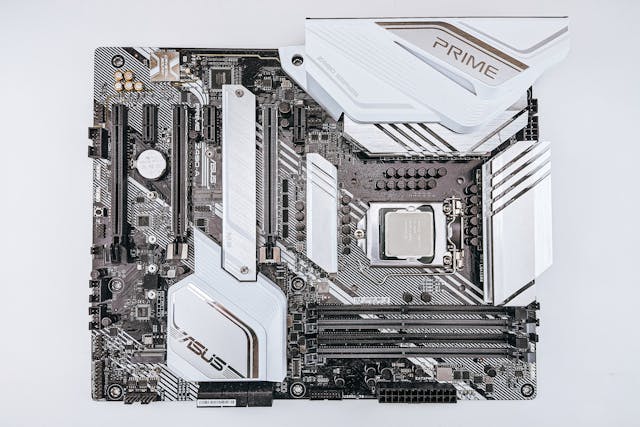
A motherboard is the backbone of your build. It must match the CPU socket and support other parts.
Common factors:
- Socket type – matches CPU.
- Chipset – affects features like overclocking or memory speed.
- Form factor – ATX, micro‑ATX, or mini‑ITX.
- RAM slots – four slots allow future upgrades; two may limit growth.
- Expansion slots – PCIe for GPU and other cards.
- Ports – make sure you have enough USB, audio, and video ports.
If you want future upgrades or faster memory, pick a board with support for it. For example, motherboards with a B650 or X670 chipset for Ryzen offer PCIe 5 and DDR5 support.
Picking RAM
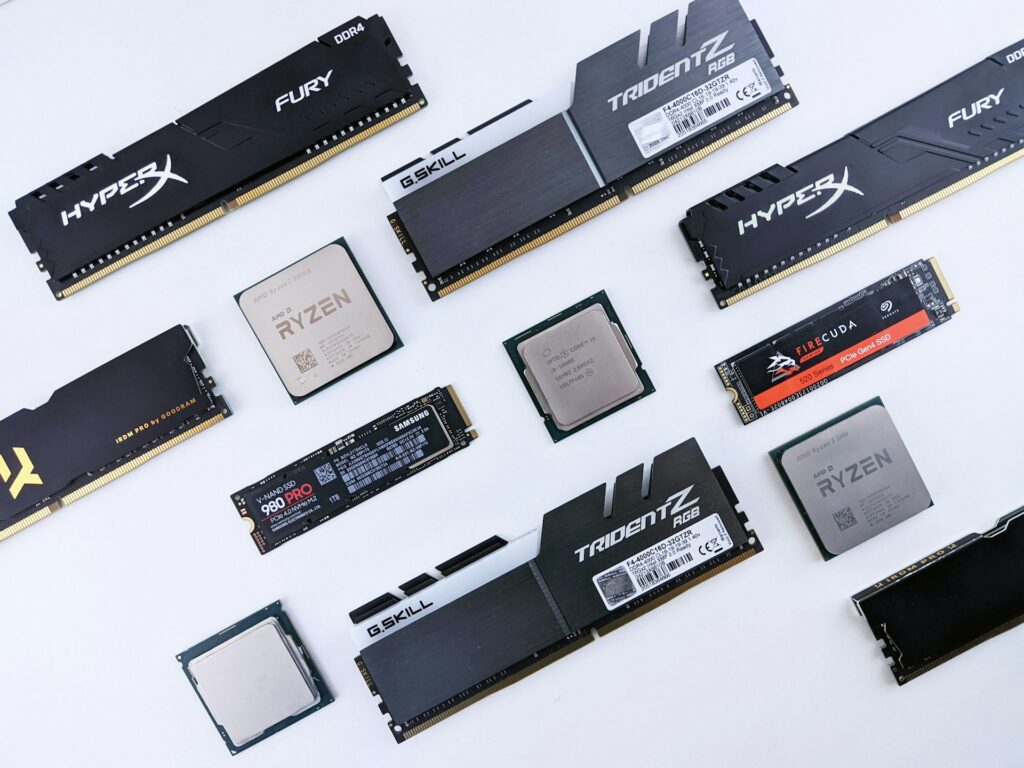
RAM helps games load fast and run well. Today, 16 GB is the sweet spot. That is often two 8 GB sticks in dual-channel mode.
If you stream or edit videos, consider 32 GB. If your board supports high speed, pick DDR4‑3600 or DDR5‑5200.
Check your motherboard’s QVL (qualified vendor list) to make sure your RAM works. But most RAM works fine if the speed is below the board’s limit.
Choosing Storage
Storage affects how fast your system boots and how your games load.
Use an SSD for your system drive. It makes Windows, apps, and games start in seconds.
- For the budget, a 500 GB SATA SSD works fine.
- For speed, go for NVMe M.2 SSDs (like PCIe 3 or PCIe 4).
- If you need a lot of space, add a 1 TB or 2 TB hard drive for your game library.
You can mix them. Put Windows and favorite games on the SSD. Store bigger files on the hard drive.
Power Supply Unit (PSU)
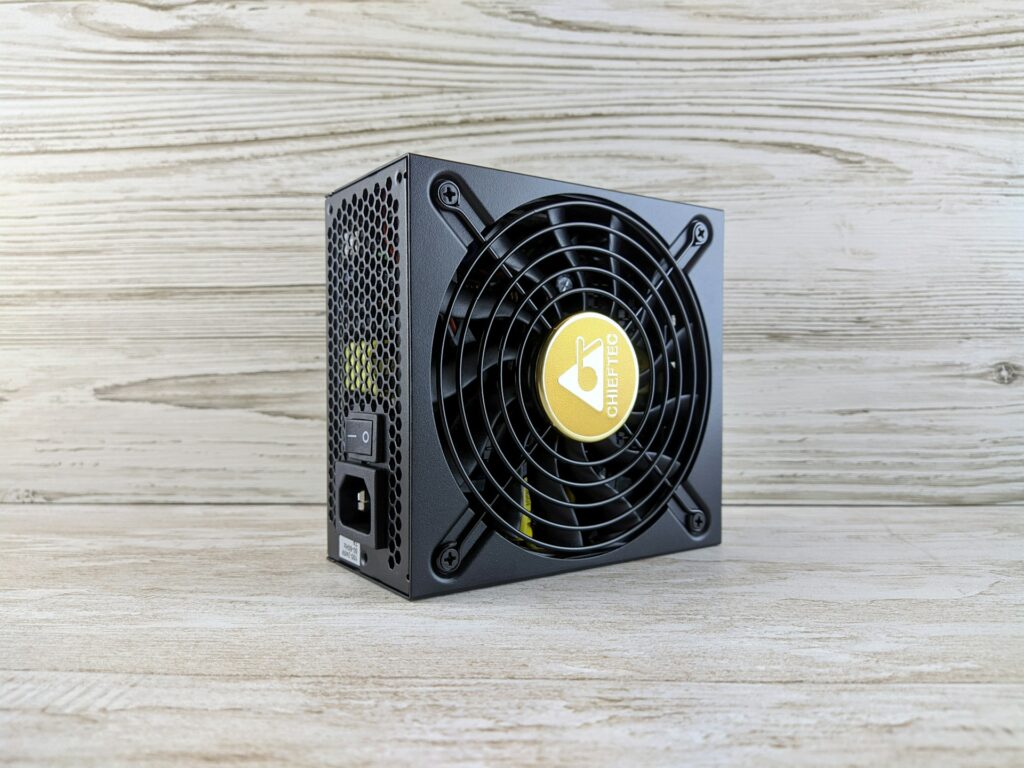
The PSU gives parts clean power. Pick a PSU from a trusted brand. Aim for an 80 Plus Bronze rating or better. That shows efficiency.
Your power needs depend on parts. Use an online PSU calculator or check GPU and CPU TDP ratings.
For a mid-range build, 650 W 80 Plus Bronze PSU. For high-end, go 750 W or 850 W. Always leave some room. That helps stability and allows future upgrades.
PC Case and Cooling
Your case holds parts and helps airflow. Pick a case that fits your GPU and motherboard. If you plan to add big cooling fans or a liquid cooler, make sure there is space.
Cooling is key. A good mid-tower case like NZXT H510,with two intake fans at the front and one exhaust fan at the rear is enough for most builds.
If you overclock, add better CPU cooling. Either a big air cooler or a closed-loop liquid cooler. Make sure they fit your case and don’t block RAM.
Check Compatibility
Before buying, double-check these points:
- CPU socket matches motherboard.
- RAM and storage types are supported.
- GPU fits the case and works with the PSU.
- PSU wattage meets needs and has the right connectors (e.g, 8-pin PCIe power).
- The case fits the motherboard form factor (ATX vs micro‑ATX vs mini‑ITX).
Use tools like PCPartPicker (an online site) to verify compatibility. It flags common issues.
4. Building Your Gaming PC Step by Step
Now, assembly time:
- Prepare work area. Clean surface, good light, and anti-static measures (a wrist strap or touching metal occasionally).
- Install CPU. Open the socket lever. Match the gold triangle on the CPU with the one on the socket. Gently place it. Do not force. Close lever.
- Install the CPU cooler. If it has thermal paste pre-applied, simply set it. If not, add a pea‑size drop in the center. Mount the cooler and tighten the screws evenly.
- Install RAM. Open RAM clips. Push sticks into slots until they click. If you have two sticks, use the slots indicated in the manual for dual-channel.
- Install the motherboard in the case. First place stands in case. Align board. Screw it down gently.
- Install storage. For M.2 SSD, remove slot screw, insert the drive at an angle, then push down and secure. For the SATA SSD, mount it in drive bay and connect the power and data cables.
- Install GPU. Remove slot covers from case. Gently push the GPU into the PCIe x16 slot on the board until it snaps. Secure with screws at the back of the case.
- Connect PSU cables. Join the 24-pin ATX to the motherboard. Plug the 8-pin CPU power. Plug PCIe cables into the GPU. Connect the SATA power to your drive. Keep cables tidy.
- Connect case cables. Link the power switch, reset switch, power LED, USB ports, and audio header to the motherboard. Use your manual.
- Check fans. Make sure power connectors (3-pin or 4-pin) connect to the CPU fan and chassis fan headers.
- Boot test. Attach the monitor and keyboard. Power on. If you see the motherboard logo or BIOS screen, good. If not, turn off and re-check connections.
- Install OS. Use a USB installer to install Windows or Linux. Enter BIOS to set the boot order. Then install drivers (GPU drivers, chipset drivers).
- Stress test. Run a simple test like Prime95 for CPU or Unigine Heaven for GPU. Watch temperatures. If they stay under 80 °C, you’re good.
5. Installing Drivers and Optimizing Game Settings
Once inside Windows, download the latest drivers from AMD or Nvidia. Also, install motherboard drivers for audio and networking.
Set the GPU control panel to “Game mode.” Adjust performance options. For many games, set settings to “high” or “ultra.” Then change based on frame rate.
If you use ray tracing, expect lower FPS. You can enable DLSS or FSR to boost performance.
6. Maintaining and Upgrading Your Gaming PC
Keep It Clean and Up to Date
Dust builds fast. Clean with an air blower every six months. Dust makes your parts run hotter.
Keep drivers updated. They improve game performance.
Check temperature with tools like HWMonitor or MSI Afterburner. Keep CPU under 85 °C, GPU under 85 °C during long play sessions.
Upgrade Paths
Good news—you can upgrade later. Want a faster CPU? Get a better model with the same socket. More RAM? Add sticks. Better GPU? Just swap it.
You may need a bigger PSU or more fans. But building once teaches you how it all fits. Future upgrades are simple.
Troubleshooting Common Issues
Even if things go well, you may hit a snag.
- PC won’t boot: Check power connections, RAM seating, CPU cooler fans spinning.
- No display: Make sure the monitor cable is in the GPU, not the motherboard. Secure GPU power.
- Overheating: Add fans. Clean dust. Re‑apply thermal paste.
- Game lags: Lower game settings. Turn off background apps.
Stay calm. Look up specific errors online. Most fixes are easy.
Final Thoughts: Why Building a Gaming PC is Worth It
To build a gaming PC means learning what goes into a machine that works for you—not just what’s sold in a box. You make the choices, and that matters. You avoid junk parts, skip hidden costs, and get better speed for your budget.
This guide gave you the basics and beyond. Now you know how to pick parts, check compatibility, build step by step, and set up your system right. You also know how to keep it clean and plan upgrades when you’re ready. That’s the full picture. Your PC is more than a tool now—it’s your own build, and you know every inch of it.
